|
In pictures No.1 and 2 (click the buttons above
the picture) you can see the timber frame and roundwood for the exposed roof structure and interior
columns. You can also see the rubble trench foundation
which is filled in picture No.2 with the first 4" layer of
the adobe floor. The floor was installed over 2 days with about 15
people moving 15 tons of material which is being levelled in
picture No.3. All
of the clay, except for the white finishing plaster (No.7), was from the building site
leaving a hole where a pond
now entertains wildlife.
Girl power (No.4) was used to straighten out the straw bale walls
with man power on the other side ready to tie off the bales to
the posts. Picture No.5 shows the un-trimmed straw bales installed as cob
balls were passed along a human conveyor belt ready for the
interior cob walls. In No.6 you can see the beginning of the exterior lime plaster,
grey where it's still wet and white where it's dry. The lime goes on in 3
coats. The first coat connects to the bales and laths, the
second shapes the wall and the third coat, using a fine mason's
sand, gets the desired texture and colour.
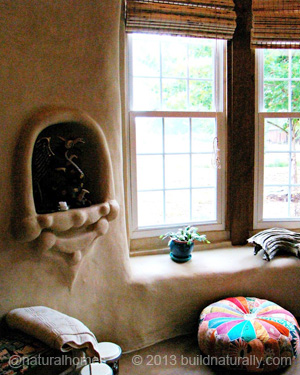
All of the interior plastering in No.7 and No.8 was
done in 2 days by a team with no previous
plastering experience. In No.7 one of the team is using a sponge
to smooth out tiny trowel marks on the window sill plaster. You
can see the
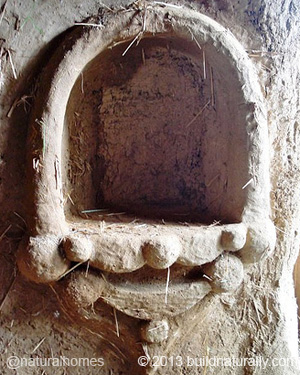
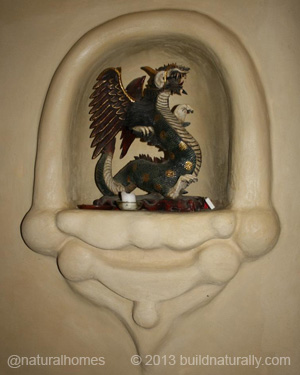
final result below (right) and the beautiful niche,
before and after plastering, below (left). In picture No.8 a clay
paint is being used over the cob bench and storage space at the
entrance to the cottage. The clay paint was made with site soil
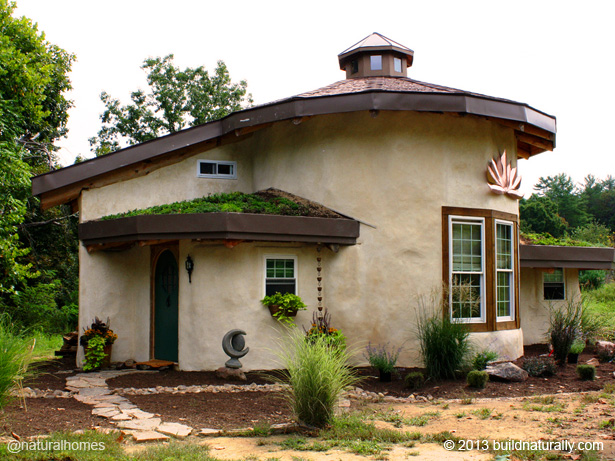
plus red pigment. Finally No.9, Lotus Cottage is
complete with a living roof waiting for the last coat of lime
plaster. |